This article is taken from “Reimagining The California Lawn Water-Conserving Plants, Practices, and Designs” by “Carol Bornstein, David Fross, Bart O’Brien”. Removing your lawn is an area of soil-covered land planted with grasses and other durable plants. “Emergency Tree Removal Service” explains you the process on it.
If you have decided to get rid of your Lawn, you have probably also wondered about how to do it. There are several effective ways to remove a lawn, but all of them should begin with a close analysis of your particular turf grass. Chances are, your current lawn is composed of one or more common commercial grasses. Mixed in with these – especially if it is an older lawn – you will often find various species of weeds. A number of perennial grasses and weeds are especially difficult to eliminate, including Bermuda grass, Kikuyu grass, St – Augustine grass, nut sedges, bind weed, and Bermuda buttercup. Presence (or absence) of these hard – to-kill grasses, and weeds will likely determine the best method for eradicating your particular melange of a lawn. No matter how you remove your turf, you will need to be vigilant to keep unwanted plants from getting re-established or introduced into your new landscape. To learn more about the types of grasses or weeds in your lawn, dig out a sample with a trowel and take it a local nurseryman or landscape contractor for assistance with identification.
Mechanical Removal
If your lawn is free the worst perennial grasses and weeds, you may chose to eliminate it by using machinery. One proven method is to use a sod cutter. This piece of equipment is designed to penetrate your turf and cut the roots, so you can remove strips of sod without displacing too much soil. Cut strips may be either composted or flipped over and used as mulch. You may need to adjust the level of the newly cleared surface before you plant again.
Another mechanical way to remove the lawn entails the use of a rototiller or a tractor with a tiller attachment. Known as the “multiple-till and irrigation method,” this process requires rototiller the lawn area at least four times over a four – to six-week period. The initial tilling should be sufficiently deep and thorough to incorporate any amendments and break up the existing turf grass. After tilling, water the area and allow weed seeds and bits of lawn to re-sprout. In one to two weeks, till again, but only to a shallow depth. Repeat these steps at least two more times to eliminate most weed seeds; more tilling and irrigation may be needed to get rid of all re-emerging grass roots. Be sure your soil is moist, but not too wet, when you work it with a tiller; cultivating soggy soils–especially heavy clay soils-will damage the soil’s structure.
Solarization
Solarization harnesses the energy of the sun to remove the lawn. By trapping sunlight beneath a layer of clear plastic sheeting, you essentially steam – sterilize the upper few inches of your garden’s soil and kill nearly every living thing in this zone. Solarization is an excellent alternative in hot areas, but it rarely does much good in cooler climate zones of California. For success with this method, you will need six to eight weeks of daytime peak temperatures reliably over 80°F and full sun exposure for at least six to eight hours each day.

Even in warm climates, solarization has some limitations. Seeds of plants in the legume family (Fabaceae) are often unaffected by solarization, and in some cases this technique can lead to a marked increase in these plants. This is fine if your lawn area contained seed from plants, such as lupines, but it can be disastrous if you have burr clover, vetch , sweet clover, or other weedy, unwanted legumes. Also, some deeply rooted pest plants such as nuts edges, Bermuda grass, bindweed, and others will initially be set back by solarization, but they will often reappear from deeper roots or shoots that survived below the solarized level.
To begin the process of solarization, clear the lawn site of any materials that could puncture the plastic sheeting, including twigs or thorny vegetation. Level the area carefully to ensure there is a much direct contact between the plastic and the surface as possible. Dig a 6- to 8-inch – deep trench around the edge of the area to be solarized. Water the site deeply and thoroughly; then, wait a few days until you can safely walk on the area without fear of compacting the soil or getting muddy. The soil should be moist, not waterlogged. If it is too dry, water it again and proceed only when the soil conditions are appropriate.
Roll out enough 3-to 6-millimeter-thick clear plastic sheeting to cover the entire area. Be sure that your plastic sheeting is a type that is resistant to ultra – violet light, because it may otherwise fall apart before the soil has been successfully solarized. If the sheeting is not wide enough to cover the lawn completely, apply as many additional plastic sheets as necessary, making certain they overlap by a couple of inches. Pull the sheets tight to maximize contact with the lawn’s surface, and then cover any seams with sand in order to retain moisture in the soil; duct tape could also be used for this purpose. The outer edge of the plastic sheeting should extend beyond the outer edge of the perimeter trench. Fill the trench with sand to weigh down the plastic.
During the following weeks, avoid unnecessary foot traffic on the plastic-covered surface, as the sheeting is thin and punctures easily. Any new holes or tears in the plastic should be quickly repaired with duct tape. If needed, apply additional sand to keep the margins and seams sealed. Note that these seam and edge areas will not receive the full benefit of solarization, and weeds will likely still be present along these lines when solarization is complete.
After a minimum of four to eight weeks, you can remove the plastic and proceed with your landscaping project. Remember that only the top 4 to 6 inches of the soil will have been solarized. Trenching, extensive grading, or digging holes for plants in gallon-sized or larger containers are activities that can penetrate below the solarized soil and can bring deeply buried weed seeds close to the surface, where they are likely to germinate. Hand weeding can usually keep these new sprouts from getting established.
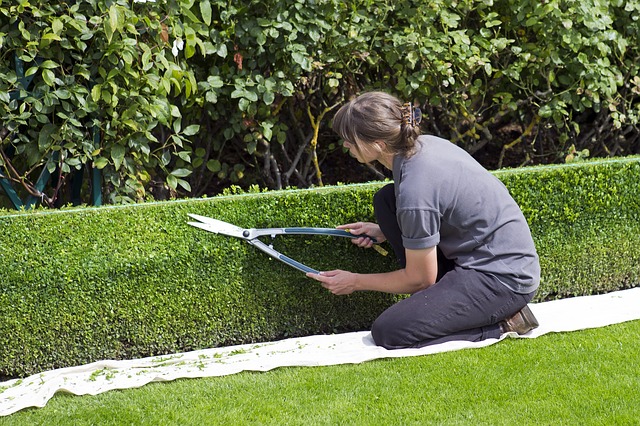
Sheet Mulching
Sheet mulching uses layers of organic materials to kill your lawn by smothering it. This process can be initiated at any time of the year, although it works best when the lawn is actively growing. In its most basic form, sheet mulching requires little more than layers of paper or cardboard, topped with a thick layer of organic matter. You can also enrich your soil during sheet mulching by including manure or compost in the mulch “sandwich” along with other nitrogen-rich materials, such as grass clippings. This technique is also referred to as sheet composting. If you plan to replace a large area of grass, you will need to acquire or stockpile a significant amount of biodegradable material to complete the job.
To start, water the existing lawn, making the soil moist but not saturated or muddy. Next, put down a layer of moistened newspaper at least five pages thick.
Continue reading on Battling Insects